Tuesday, December 29, 2015

Kids Art

My kids love to paint with watercolors, it's an awesome way to get them to sit still a minute and calm down. But, they make a ton of art, and I can't figure out what to do with it all, so I actually photograph it- write and e-mail to my son's e-mail address, and trash it. He has no idea he even has an e-mail address, I just thought I'd do that to keep track. 

Some of their art projects are started by me- white crayon or I help them put down stickers to make "bubbles" under the paint. At 3 art projects a day... you just can't keep them all! So, over about 3 weeks,I started keeping the ones that were in similar colors. I used 16 paintings for this project, below is a sampling!


Next I used a 3 inch circle hole punch. They are kinda expensive, you can use any shape you like, and if you need to shop- use a 50% coupon at Micheal's Art Store.


Then I had to glue them in place. We put on a Tinkerbelle movie, that bought me about 10 minutes, then I was surrounded by helpers. One used circles for her feet, and the other one held my stack and handed me my circles! There was still glue on all of us, at the end of the day- Bath time All a round! {Honestly the baby had 2 baths, one was for the paint she used as make up.....fair warning}


The end result is a fun Piece of wall art for my living room! I like it- definitely scaly, kinda mermaid -ish! The kids are really proud and they point it out when family comes to visit. 

Sunday, July 26, 2015

Molten LAVA, I mean Lead

{Fair Warning- this is a really picture heavy post, it might take a second to get up and running, some things are better explained with pictures!!! }

My sister in law is a long time abstract artist and I have some small experience as a silver smith. So, when she found a video- https://www.youtube.com/watch?v=xwrAsNdODnE 
We decided to try it. 

Start off looking something like this- 


Then try to figure out what you are going to use to melt off your lead... Let's see the stove they used in video, I did order, however it runs on a tank of Butane-not Propane, which is what I actually have at home. SO~ off to the store we go, again.


That's my little butane torch and one of my little propane tanks and I have a big propane tank in the background there somewhere. No matter- wrong attachments and wrong fuel source, gets you no where fast. The little Butane I use to solder sterling worked, but it didn't sustain the heat for melting more than a few square inches at a time. So we did accomplish melting- just not consistent liquid.


Now, I'm finally all set up- check out the really cute shop shoes there! Yikes!!! Safety over Fashion girls, all the time!!!


This is the first go around,  starting to melt it off and making a neat pattern- I actually thought this was a video, but I guess not!!!


More melting!!!


And a beautiful shiny surface~


Here is a video of the Coca Cola hitting the molten surface of the lead. This is the second patty that we made.

Fully Quenched! That's about it for the fun fire parts! One to scrub and rinse and polish and paint.....

Maybe you should check back in later and see the final results!

Friday, March 13, 2015

Destructive Creativity- postage stamps

Right now, I'm exploring the idea of taking old postage stamps, and making some reclaimed jewelry from them. It's been on my mind a long time. These famous masterpieces, and sometimes, just commissioned images, waiting to be made into small ideal jewelry designs.


Once they have been cut up, there's no more stamp. That's now gone. Hopefully no stamp collector's have a heart attack. A new thing is in it's place, sometimes imperfect, and sometimes, a wearable piece of art.


Destruction for the case of new beautiful thing. Sometimes, it's worth it!


Saturday, March 7, 2015

Journal your Love notes

I'm a pretty disorganized person, now that I have small children. They move things, and I take it from them, and I put it in a place that is "safe", and they can't reach... so the tops of my bookcases are just crammed with random things.

This is the cover of my actual Love Letter Journal.


 One precious thing that I haven't lost, is a notebook of  love letters. I started writing it to my husband before we were married. It's a precious little notebook, that I have written back and forth to him for 13 years. I used to write on a whim on a random Tuesday, but now I write around our anniversary, and on major holidays.

Since I love paper products so much, I do make him sweet little cards that are basic and say I love you. The heart felt love letters though, those all go in the journal. All in one location- and harder to lose and organize than a shoe box of cards.

If I'm blue, or overwhelmed; tired and discouraged... these love letters are there for me, even if the hubby is at work!

Friday, February 20, 2015

Creating a Table of Contents

I am a note-taker and a list writer, and sometimes I use the same notebook for everything. As a kid, I used a different notebook for every subject. I struggle to keep up with three different notebooks in addition to my planner. I even tried to keep separate memos on my phone for everything. My brain likes to see me writing things down. I'm not really sure why!

How do you keep everything separated? Well, there is a cool trick that students learn in Japan. They make a table of contents on the last page of a notebook. It's a way to conserve paper and resources, since every notebook gets used 100%.

You write as you need to through out your journal. No, skipping around, looking for lost notes. Then mark the page for each topic used, and use the reference in the back of the notebook.

I've left some really boring pictures to give you a general idea.
This is what the pages of my notebook now look like.

This is what my last page of my journal looks like. 

Monday, February 9, 2015

Showing the Process- Copper Pipe Pendants part 2

In part 1- I showed how to cut a copper pipe into smaller pieces to make copper pendants. It's not really a tutorial per se, more of some pictures of what I do. I skipped some really boring steps, like measuring and using a sharpie marker for the etching.

Once I have the circles cut, there are a few things that need to happen, cleaning, and etching. That's many pictures of filing and a couple pictures of my pickle pot, Wire-wrap a bail, it's hard to photograph, when both hands have pliers in them! More boring stuff! Then I squish a piece of polymer clay inside:
 My clay is dirty and swirly. I wasn't careful to keep it fresh, since it will be covered anyway. However, if your polymer is a bright color, say sky blue? Yeah, it might show through your art work! So, careful about that.... since it sort of shows on my horse pendant!


 I made a mold of my copper pipe and I used that as a template to cut out my postage stamp art.

Then you follow your resin instructions, and carefully pour. I use a medicine dropper for babies, since I have babies and seem to have a bundle of those- after each use they get thrown out, the resin residue is sticky and super hard to clean. So, I toss them out.

Even with practice- things can go wrong. Two of these pendants didn't harden, and the tape on my clear backless pendant, gave way and made a big mess. The big mess- well, out of luck there. But, the ones that didn't harden? I waited a week- a really long time, usually hardening occurs in 2 days, but I wanted to be super sure the pour went all wrong. It was wrong, so I poured again, and, Voila! hardened perfectly. 

These pendants take a lot of time. Making a batch, I cut 12 bezels, and ended up making 5 pendants, 1 pendant is irreparable, and the time investment is still around 9 hours. I'm hoping to get faster with each round, it still seems like quite a bit of time "hands on" then there is a bit of time- left in the etching acid, in the pickle pot and drying resin- those stages are "hands off" but I still set the oven timer, to be sure things don't get over done. 

I hope that you can see how this comes together and get inspired for your own next project.

Monday, February 2, 2015

Make your own Banner

Craft Show Preparations

Well, you could call it Craft Show preparations- or you could call it- the week of Panic!

My old show banner is damask paper sewn into a banner. And it is very cute- and also fragile!

So a new show sign was in order- Wow, what a lot of work, next time it might be worth it to purchase a fancy vinyl job. 

I painted a 15 inch by 60 inch canvas. I'm weird so I actually had that size on hand from a canvas sale over 5 years ago. I looked at some of my favorite artists for inspiration, and one day while both kids slept- I jumped in and only had 20 minutes to get work done. 

So over a weekend I worked on the colors and over washes. I took a cotton ball and dripped turpentine and burnt umber over the other oil paints. This made a cool effect.

Then I had to choose a font. So, I played around on www.dafont.com. I was pretty successful after a few hours and I settled on Sauerkraut.

My printer died- or rather stopped recognizing my ink cartridge, mean old thing. Had to rush out and buy a printer, and print off the letters- sized 800. Then used an Xacto knife to cut those babies out. 

I used a water color pencil to outline a few letters and I filled in the flatter outside pieces when I could. 

Then I filled those letters in with Sharpie. Of course I got mad, when in day light I could see the lines of the coloring. Argh! So I painted in with Payne's gray oil paint- thinned out a bit. This helped me get an all over coverage that really helped. Thinning it- that helped it dry in about a 24 hour period.
Last I used a cool powder additive that left a beautiful purple sheen highlight over the letters. In this picture, you will notice that effect especially on the J and O. 

Saturday, January 31, 2015

That Ridiculous Blue Pendant

Actually it's really nice, now that it's finally finished- see?
Available here!

I tried to work out a few different sized filigree pieces for the rounded back. Since it's not a flat back, that was actually a challenge to round over perfectly. A few banged up pieces later, it looks pretty good. Lesson learned- take the stone out, and bang that metal into submission! (carefully and gently, so you don't mar the pattern.)

 Then a manufactured bail was too awkward, and the wrong color. A wirewrap job was nice and tight, but small and insignificant against such a dramatic crystal. So, I put it away, away for another day. It was in my "for sale" box. But, I didn't put it out on my table for sale, and I didn't list it online. See, I was sort of embarrassed by it's awkwardness.

Today, I realized that my shop on Etsy is getting pretty thin, what do I have made already to beef up the inventory? Well, this thing is floating around, but I'm NOT proud of it. Why is that?

So I pulled out some filigree, and tried to add it, and cut it up, and add some more, and cut that off and trim it down..... you know what! I finally like it! I hope the darn thing sells!


Tuesday, January 27, 2015

Showing the Process-Copper Pipe Pendants- Part 1


It was recommended that I make something to show how much work it takes to make my little pendants. This isn't really a tutorial- just kind of show and tell, in action in the shop

Cutting pipe- about 30 turns goes through the copper pipe.

Some etching went right, but it needs to show up more.

Lined up, like ducks in a row!

Polishing with the Foredom.


20 gauge wires, cut about 3 inches.

This is my butane torch. Not my favorite, I prefer the oxygen, but it needs new lines.

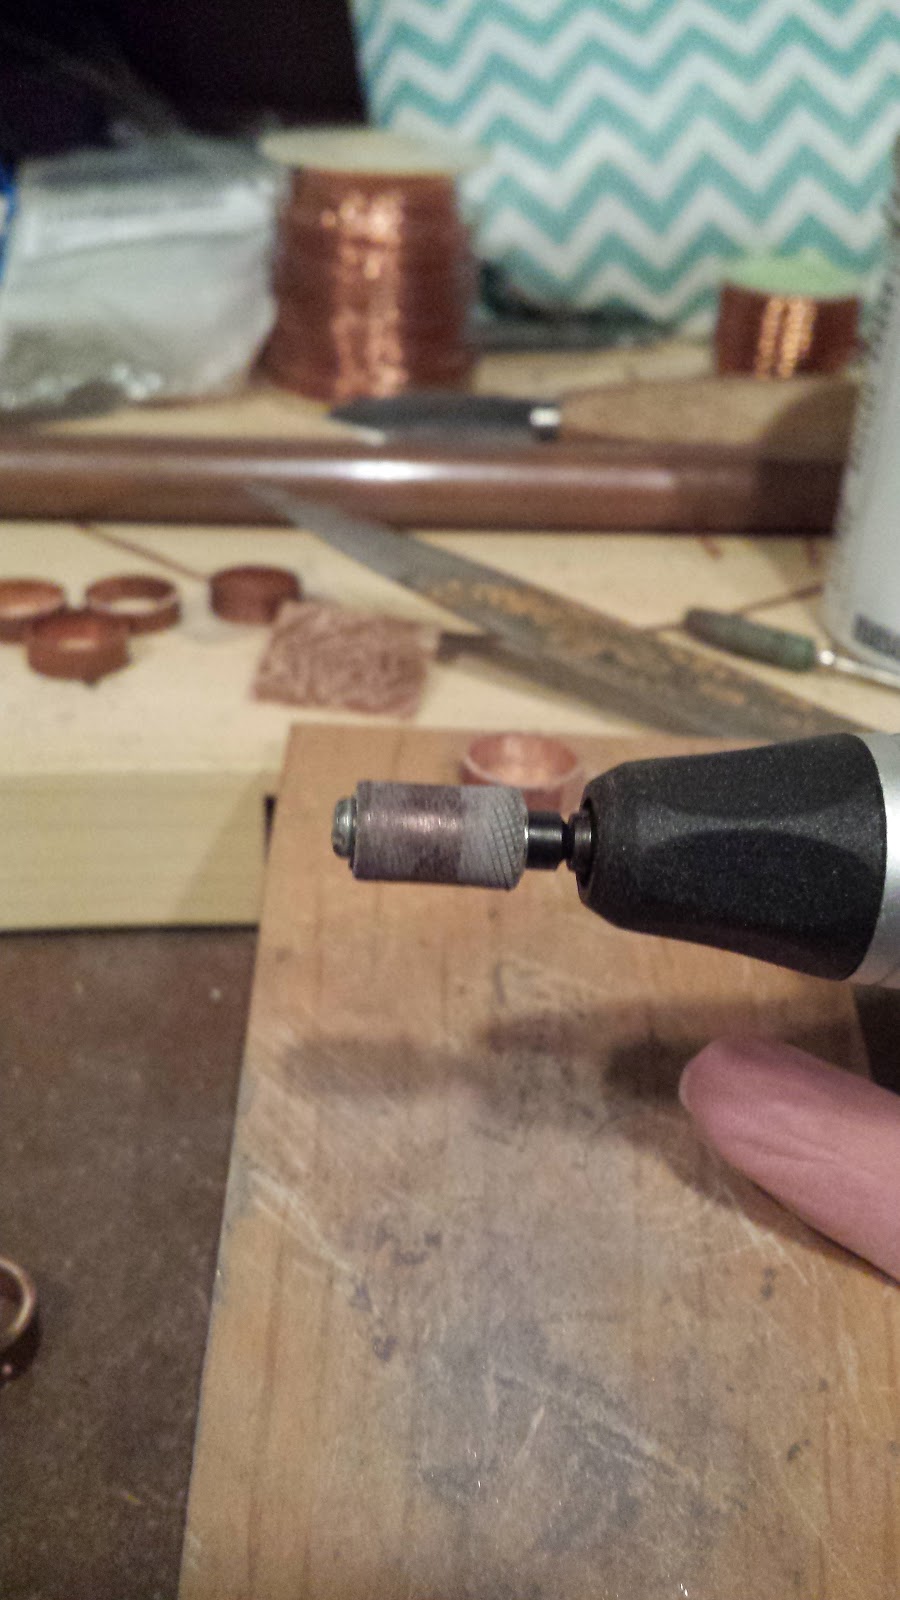
Making headpins.


Painted with fire.

Punching the hole for the bail. takes loads of hand strength.
All of that work- and the copper pipe bezels are just about ready to fill. This was a longer show and tell then I expected! See the finished product here:Pendants

Monday, January 26, 2015

When you Drop a Jar of Peanut Butter

Just in case, the jar isn't attached to it's lids, and you happen to drop a jar of Cashew Butter... remember that a decent amount of Dawn Dish Detergent will break up the grease and renew your clothes and kitchen to it's former glory. It worked on the marble  tiles, old painted cabinets, painted popcorn ceiling, socks and yoga pants. The tee shirt is going through "phase 2 of the washing process again.


(If your kitchen's former glory includes 70's Formica counter tops, That is the previous glory I'm referring, sorry!The Dawn will not upgrade you to modern Formica counters!)

I have no advice if you or your children are uncoordinated, just know you are not alone!

Wednesday, January 21, 2015

Copper and Filigree Together

I wanted the copper projects to be a bit more fancy: More finished and polished. Maybe I'll make a more grungy version later- keep your eyes peeled! (do people even say that any more? or make banana references?)

Well, I still have a few filigree things floating around. So, I married them together. The copper projects are a huge endeavor. So I need to set-up some baby sitting, before I can make more. Little fingers in the resin- really, REALLY bad.


Hooray for Hardware Store Jewelry!!


Thursday, January 15, 2015

Perseverance

Perseverance

Well, I kept pushing for this project to turn out, and it finally did! So, on this super sunny day, I got a few pictures made.  Now, I can share with you the final product, that made me so crazy!
Copper pipe pendant with gold sparkles, red pearl, and azurite beads embedded. 
This copper pipe pendant has blue sparkles and freshwater pearls, with a red Swarovski bicone crystal. (SOLD)

This pendant has the addition of a Swarovski Fire Opal crystal it matches so beautifully. Pearls are embedded and one Moss Agate. (AVAILABLE)


Imagine if I threw in the towel? The trick was the resin actually had to be measured with a syringe, the measurements had to be PRECISE! I think weather might affect it as well. Too Humid!
I also started making my own earring hooks, so a few more earring options are now available.

Now, if only I could take a decent picture, I assure you these are super fabulous in person! 

Monday, January 12, 2015

The new Morning Pages

"tomorrow is a new day, with no mistakes in it." Miss Stacey.

Well, it is a rocky start. Today's morning pages looked a lot like this;

Let's hope Miss Stacey is right, those earrings won't make them selves.

Saturday, January 10, 2015

New Year"s 2015

Morning pages go great in a fresh clean journal! I happen to make those:)


Happy 2015 everyone! I am one of those weird people that actually likes making and keeping New Year's resolutions. Right? What a strange duck.... because I have actually had some moderate success at keeping resolutions. You see, they help me evolve, grow up and continue to move forward. Some resolutions I have kept in the past- eat 2 vegetables a day, lose 15, 20, 70 pounds, drink my water, and create every week.

 I find that putting a system in place, pretty much takes care of the resolution as I life my life. I joined a veggie box program- it got me introduced to new and exciting veggies- until I could recognize them at the grocery/farmer's market. I like to garden, but it is hard keeping the kids from digging everything up. I figured out that I don't lose weight while eating sugar. I used to count calories, but it only got me through the first 30 pounds or so. I found a meal plan that works for me. LOTS of cooking, though. As long as I eat what I'm supposed to, I meet my weight goals at a steady pace. Only 30 pounds to my Ultimate Final Goal! I drink my water, because I bout a cute 24 ounce cup- I just fill it up 3 times a day, and usually one of those has straight lemon juice in it.

The resolution that got away from me: keeping up with morning pages. I made it about 3 months, then I adjusted my schedule to 2 days a week, and I found that sustainable for a few more months. But I simply petered off. Having young kids at home makes it almost impossible to do morning pages. If you don't know where your next sleep is coming from.... well, coffee is WAY more important in the mornings.

One of the ways that I feel helps me with success, small attainable goals. Value the little progress that you are making. Little jumps and starts are helpful. I do value morning pages- they help me filter, set goals for myself and plan future projects. This last year I planned over 20 projects out on paper. I think that I got frustrated because I never had the time to actually create and experiment with all the new ideas.

Enter Epiphany:
1) Morning pages making you frustrated= definitely going to quit!

2) Maybe I don't have to use the time actually writing! inspired by Dirty Footprints Studio. She is a painter, not really a jeweler, but the creative process is still there.

3) It is totally okay to start again! (I also make birthday resolutions)

You see, what if I steal the same 20 minutes with my coffee, and actually take those few minutes and create instead? It might be more satisfying.


Enter my new New Year's resolution- spend time in the studio every day- even with an egg timer, even bleary eyed with my coffee. See F. Scott Fitzgerald once wrote:

For what it's worth: it's never too late to be whoever you want to be. I hope you live a life you're proud of, and if you find you're not, I hope you have the strength to start over again.

So now it's simply time to start again, and have the courage to change. so, take stock, are you, being the best you?